
VideoPlaybackScreenの起動
VideoPlaybackScreenの起動
オープンベータ版ドキュメント:本テクニカルドキュメントは、リリース前のオープンベータ版の一部としてAmazonから提供されるものです。ここで説明されている機能は、Amazonがフィードバックを受け取り、機能の開発を繰り返す過程で変更される可能性があります。最新の機能の情報については、最新のリリースノートを参照してください。
Stack.NavigatorにVideoPlaybackScreenを追加
これでVideoPlaybackScreenができたので、Stack.Navigatorに追加して、ナビゲーションの一部としてアクセスできるようにする必要があります。
App.tsxを開きます。- screensからVideoPlaybackScreenをインポート
import { LandingScreen, VideoDetailScreen, VideoPlaybackScreen} from './screens';
- VideoPlaybackScreenという新しい
Stack.Screenを追加し、新しいVideoPlaybackScreenコンポーネントをレンダリングするように設定します。
<Stack.Navigator screenOptions={{ headerShown: false }}>
  <Stack.Screen name='LandingScreen' component={LandingScreen}/>
  <Stack.Screen name='VideoDetailScreen' component={VideoDetailScreen}/>
  <Stack.Screen name='VideoPlaybackScreen' component={VideoPlaybackScreen}/>
</Stack.Navigator>
VideoPlaybackScreenへの移動
これで [今すぐ観る] ボタンをクリックしたとき、VideoPlaybackScreenを起動できるようになりました。
VideoDetailScreen.tsxを開きます。- [今すぐ観る] ボタンのpressFunctionを、VideoPlayerScreenに移動するよう更新します。
- navigationに
videoURLのプロパティを割り当て、videoURLの値に設定します。
 <Button
    buttonText="今すぐ観る"
    pressFunction={() => navigation.navigate('VideoPlaybackScreen', { videoURL: video.videoURL })}
 />
VideoPlaybackScreenの起動
VideoPlaybackScreenにデータを渡したので、表示してみましょう。
VideoPlaybackScreen.tsxを開きます。- 画面にnavigationプロパティとrouteプロパティ
{ navigation, route }: anyを追加します。
const VideoPlaybackScreen = ({ navigation, route }: any) => {
- Textを
route.params.videoURLに設定します。
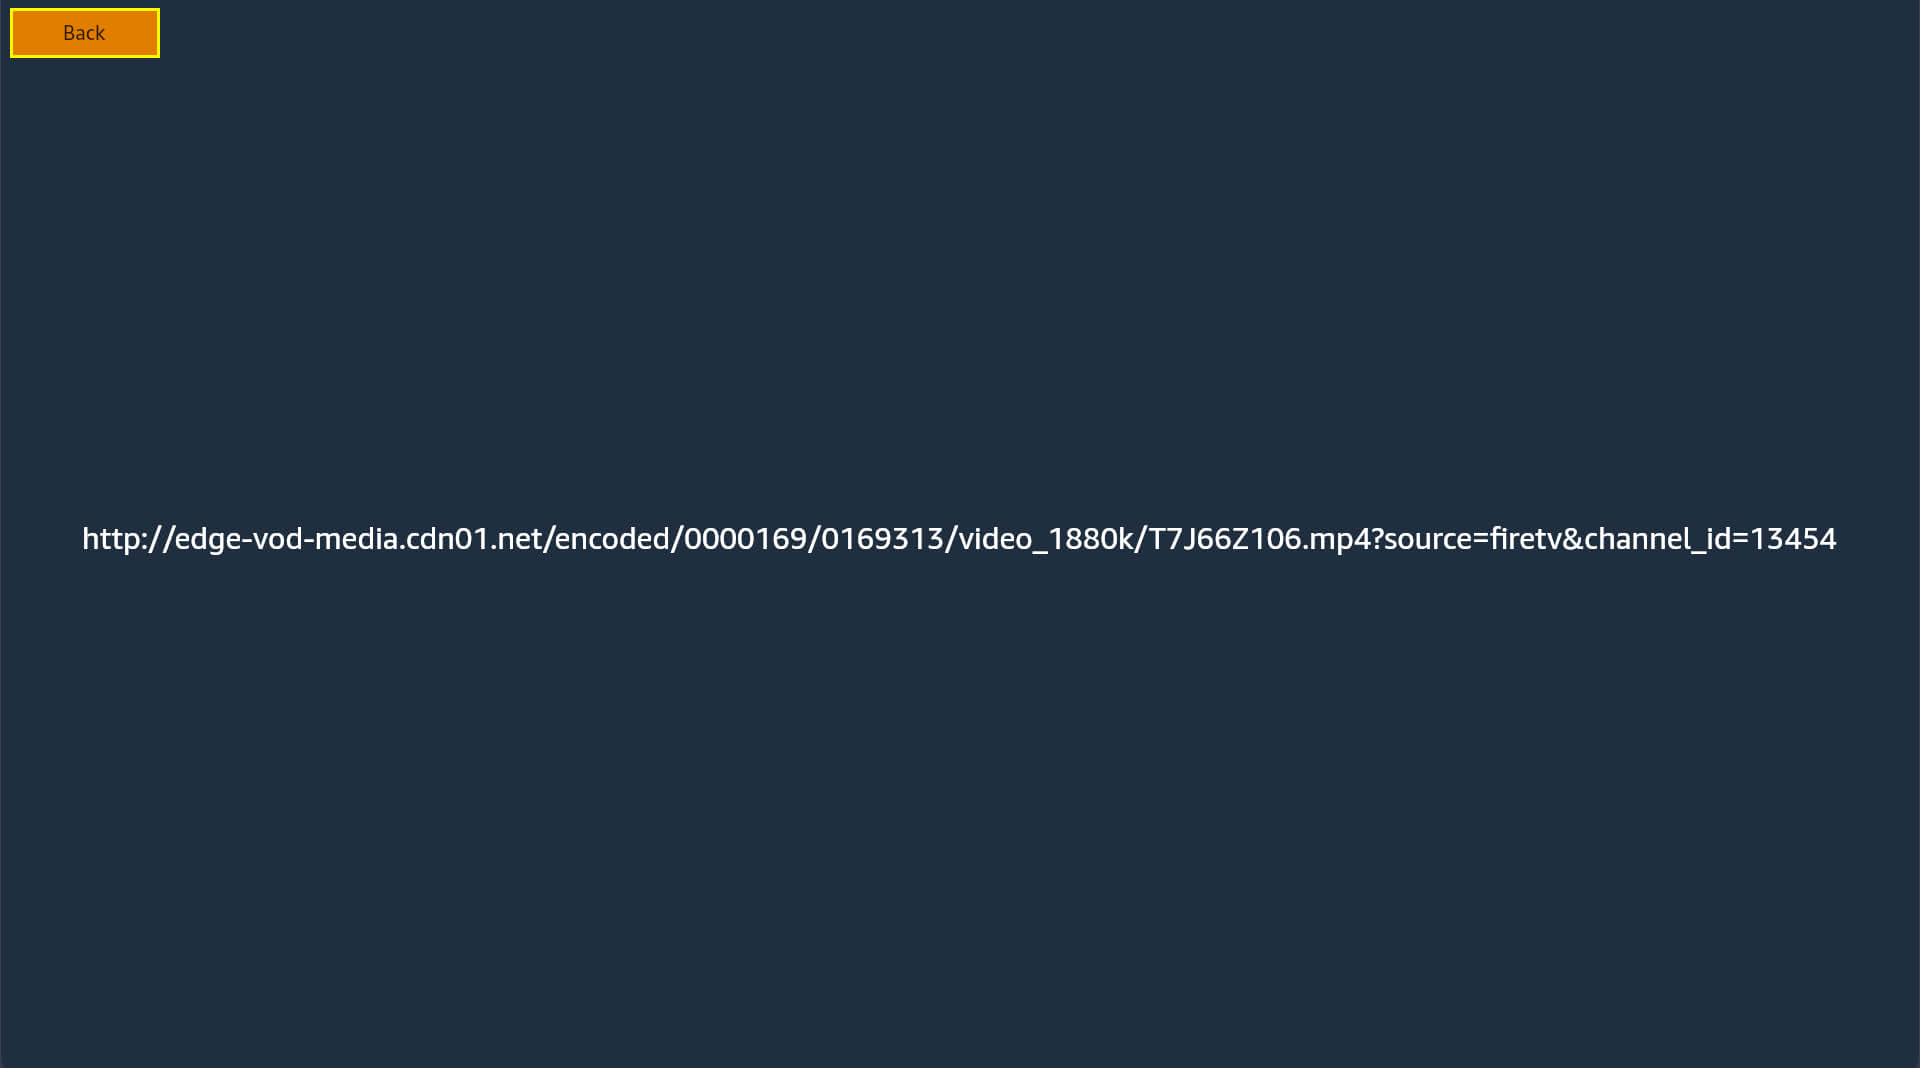
<Text style={styles.playerPlaceholder}>{route.params.videoURL}</Text>
VideoPlaybackScreen.tsxの更新後のコードは次のようになります。
import React from 'react';
import {View, StyleSheet, Text} from 'react-native';
import {Button} from '../components';

const VideoPlaybackScreen = ({navigation, route}: any) => {
  return (
    <View style={styles.playerContainer}>
      <Text style={styles.playerPlaceholder}>{route.params.videoURL}</Text>
      <View style={styles.buttonContainer}>
        <Button buttonText="戻る" pressFunction={() => navigation.goBack()} />
      </View>
    </View>
  );
};

const styles = StyleSheet.create({
  playerContainer: {
    flex: 1,
    justifyContent: 'center',
    alignItems: 'center',
  },
  buttonContainer: {
    width: 100,
    position: 'absolute',
    top: 10,
    left: 10,
  },
  playerPlaceholder: {
    color: 'white',
    fontSize: 30,
  },
});

export default VideoPlaybackScreen;
おめでとうございます! Vega Videoアプリのスタートガイドが無事に完了しました。🎉Vegaアプリに、ビデオを表示して再生するために必要な機能と、画面間の適切なナビゲーションが追加されました。これで、ビデオストリーミングアプリの基盤が完成しました。
次のページに進んで、Vegaでの開発についてご確認ください。
Last updated: 2026年2月9日